 UltraVideo 1.0 for the Atari 800xl
Although the s-video output on my Atari XEs always left a lot to be
desired, when I finally got
hold of an 800XL I was appalled by the quality of the display. Even after
performing both of
Ben Poehland’s SuperVideo Mods, I was still left with zigzag vertical
stripes down the
screen, grain, noise, and poor vertical definition. The fact I was still
experiencing artifacting
meant the luma and chroma signals still weren’t isolated, so more drastic
action was
required.
Disclaimer: Before proceeding, be aware that this mod completely disables
composite and
RF output on your 800XL. It’s intended for those who use s-video exclusively
using a plain
cable with no noise-reducing diode inside, and would like the best possible
s-video signal.
Note that artifacting will no longer work after this modification is
performed. I also take no
responsibility for damage caused by poor soldering/de-soldering or disassembly
of the
machine. Work is performed entirely at your own risk and I can’t guarantee
that the results
will look the same on another computer/monitor combination as they do on mine.
I’ve ended
up with a display comparable to that of the RGB output from a VBXE board, but
I have no
way of knowing if others will enjoy the same results. I would refer readers to
the SuperVideo
page above for detailed discussions of the problems related to the stock 800XL
video circuit.
The Old Display
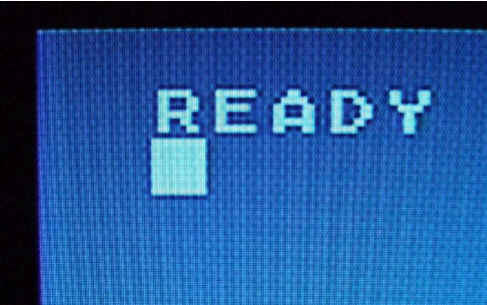
After performing the SuperVideo Mod on my new 800XL, the s-video signal
still produced
this on my LG Flatron M227WD TFT monitor:

The zigzag lines absolutely ruined the picture, and background noise not
visible in the
photograph made matters worse. These are the problems the “UltraVideo” mod
addresses.
UltraVideo
The UltraVideo mod is a mix-and-match version of the SuperVideo mod, and I
have left out
and included modifications according to personal preference. I just went with
what gave the
best picture. If you want to slavishly follow my design, you will need:
1 x 8.2ohm
resistor
2 x 75ohm
resistor
However, you can opt to simply de-solder components and disconnect the RF,
which should
give excellent results on their own.
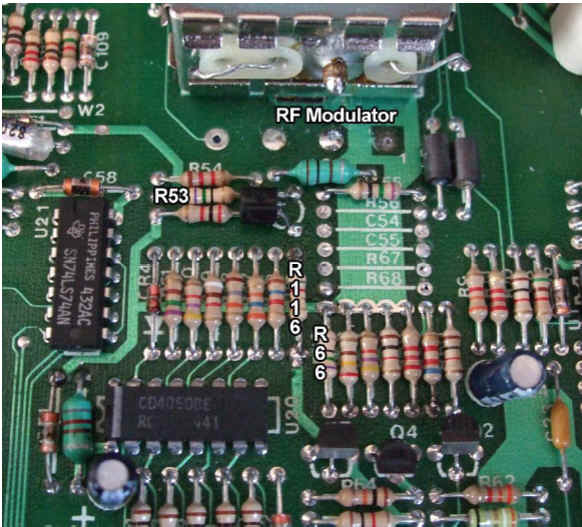
1. The
first thing we’ll do is totally disconnect the RF modulator by de-soldering
the
three wires which connect it to the Atari main board, as shown at the top of
the picture
below:

You can accomplish this by heating the pads with a soldering iron and
prizing the
wires off the board with pliers. If you have the tools to remove the RF box
entirely, I
would recommend it.
2. Next, we’re going to remove all components linking the luma and chroma
signals. I
took no chances and whipped out R56, C54, C55, R67 and R68 and shown in the
picture.
3. Lastly – and this part is optional – I left in three parts of the
original SuperVideo mod:
R53 (100ohm or 390ohm) and R66 (100ohm) are replaced by 75ohm
(violet-green-black-
gold) resistors as shown in the picture, and R116 (51ohm) is replaced by a
8.2ohm resistor (grey-red-gold-gold). Note the 8.2ohm resistor is a 2.2ohm
(red-red-gold-
gold) in the SuperVideo instructions, but 8.2ohm was all I had at the time and
since the picture looks perfect I’m quite happy with it!
In reality, you should feel free to perform other parts of the SuperVideo mod
as you see fit.
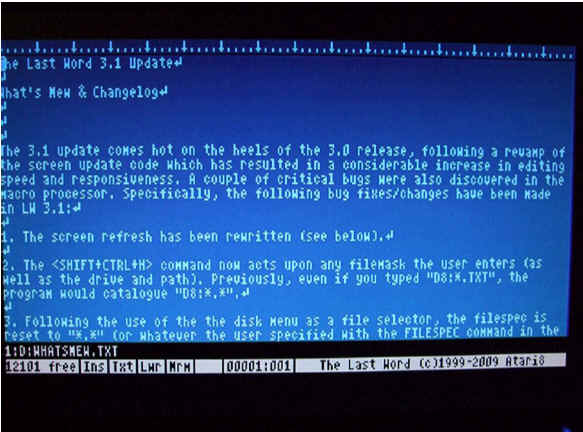
Since the basic quality of the s-video signal is so dramatically improved,
other modifications
can be made to tailor hue and saturation to taste. The improvement is so
dramatic on my
set-up, it rivals my VBXE equipped 65XE in all but color saturation and
vibrancy:

Lingering noise and artifacting on the display turned out to be caused by
the s-video cable I
was using. Switching to a plain, home-made cable yields the best possible
display and really
has to be seen to be believed. The next task is to accomplish the same thing
on the XE.
Good luck.
Jon Halliday, January 2010